Welds and details
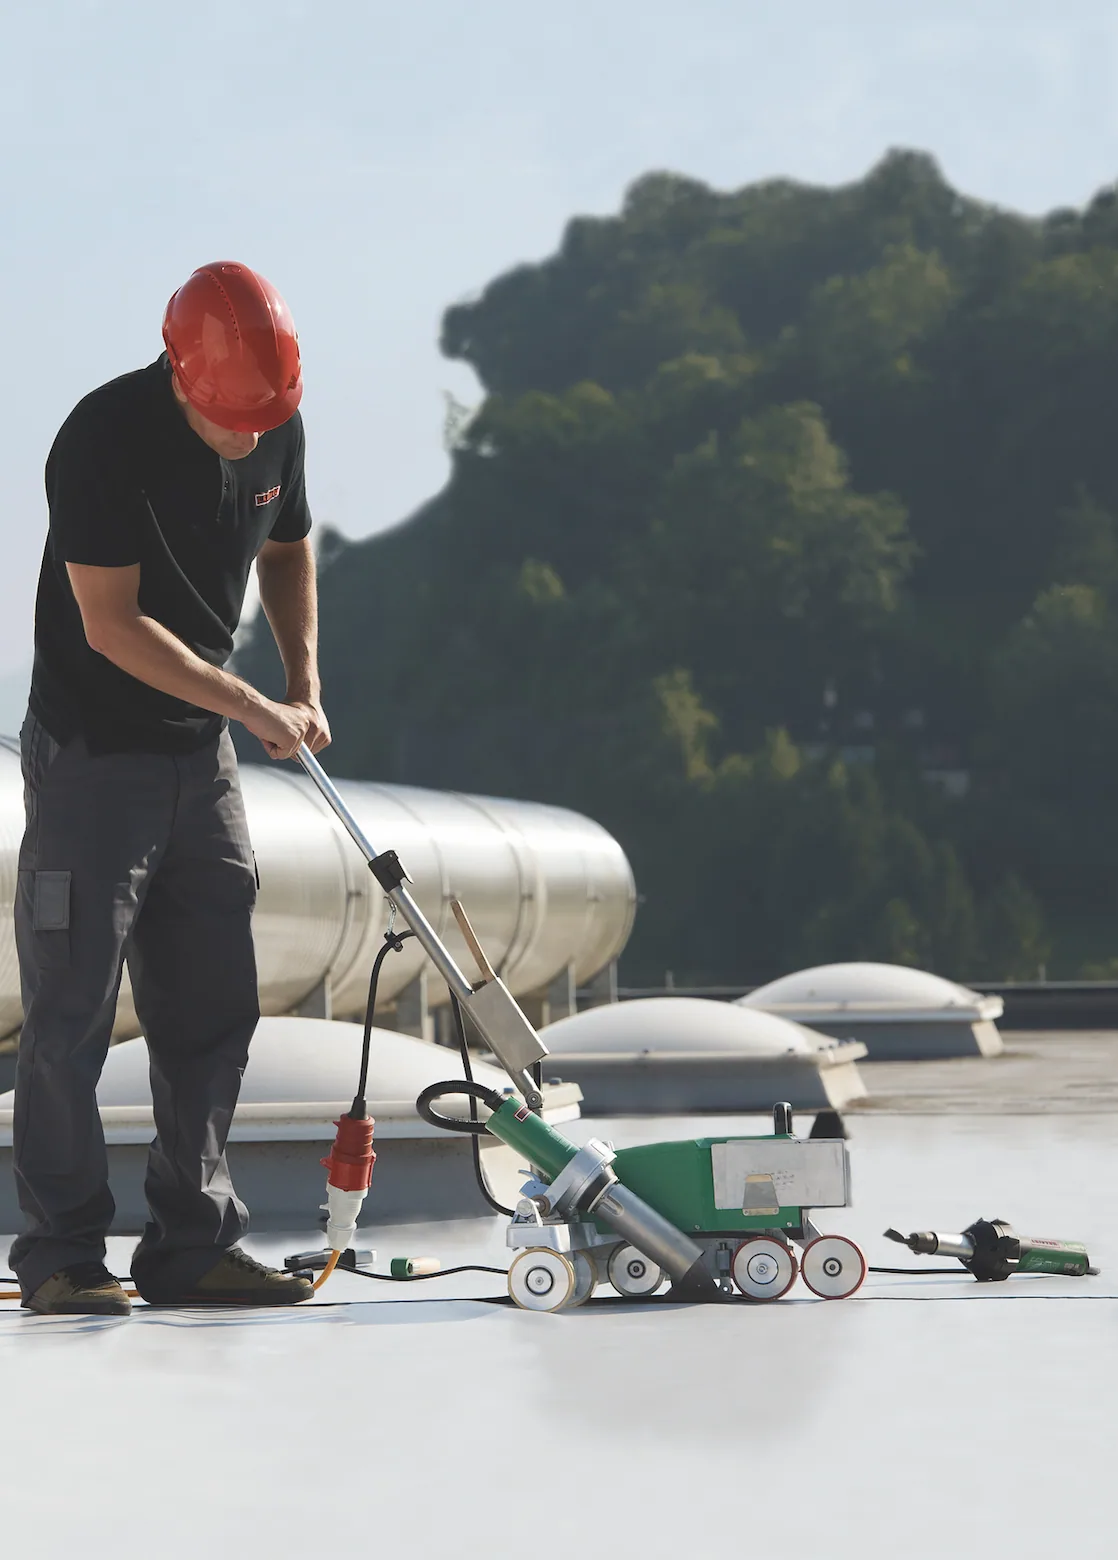
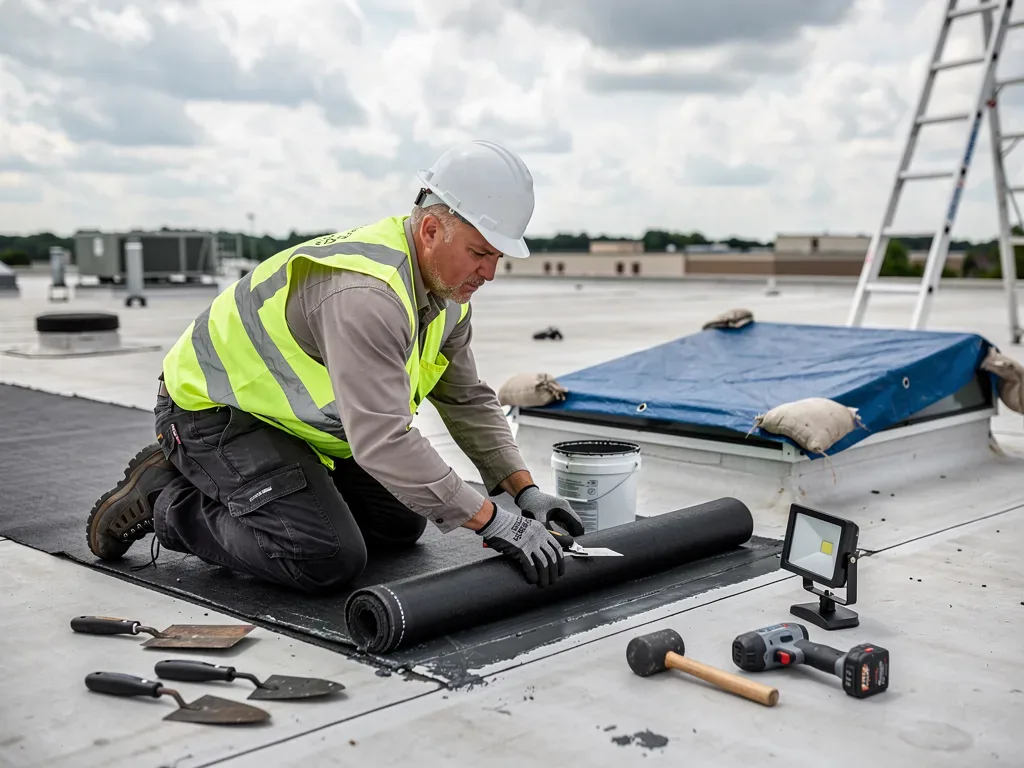
TPO sheets are joined by heat-welded seams. A weak weld may open at a lap, corner, curb, or penetration, especially where water repeatedly crosses the detail or another trade has disturbed it. We examine the weld width and continuity, sheet alignment, surface contamination, and whether the material beneath the lap is stable. A probe can help identify an open edge, but the full repair limit comes from the condition around it.
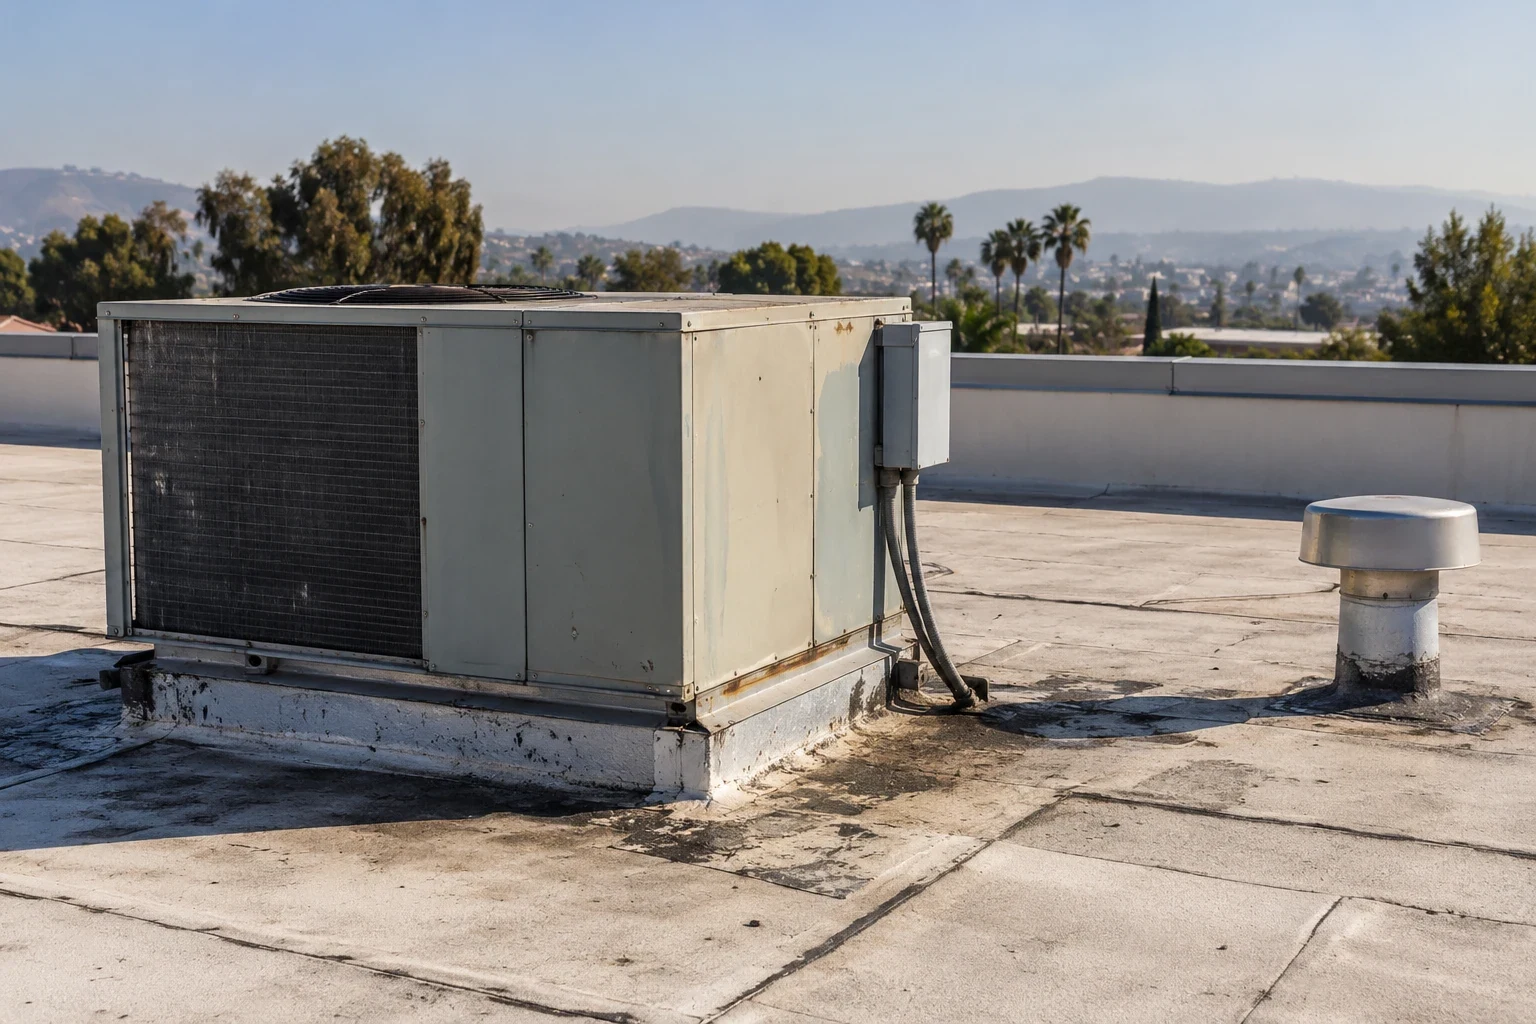
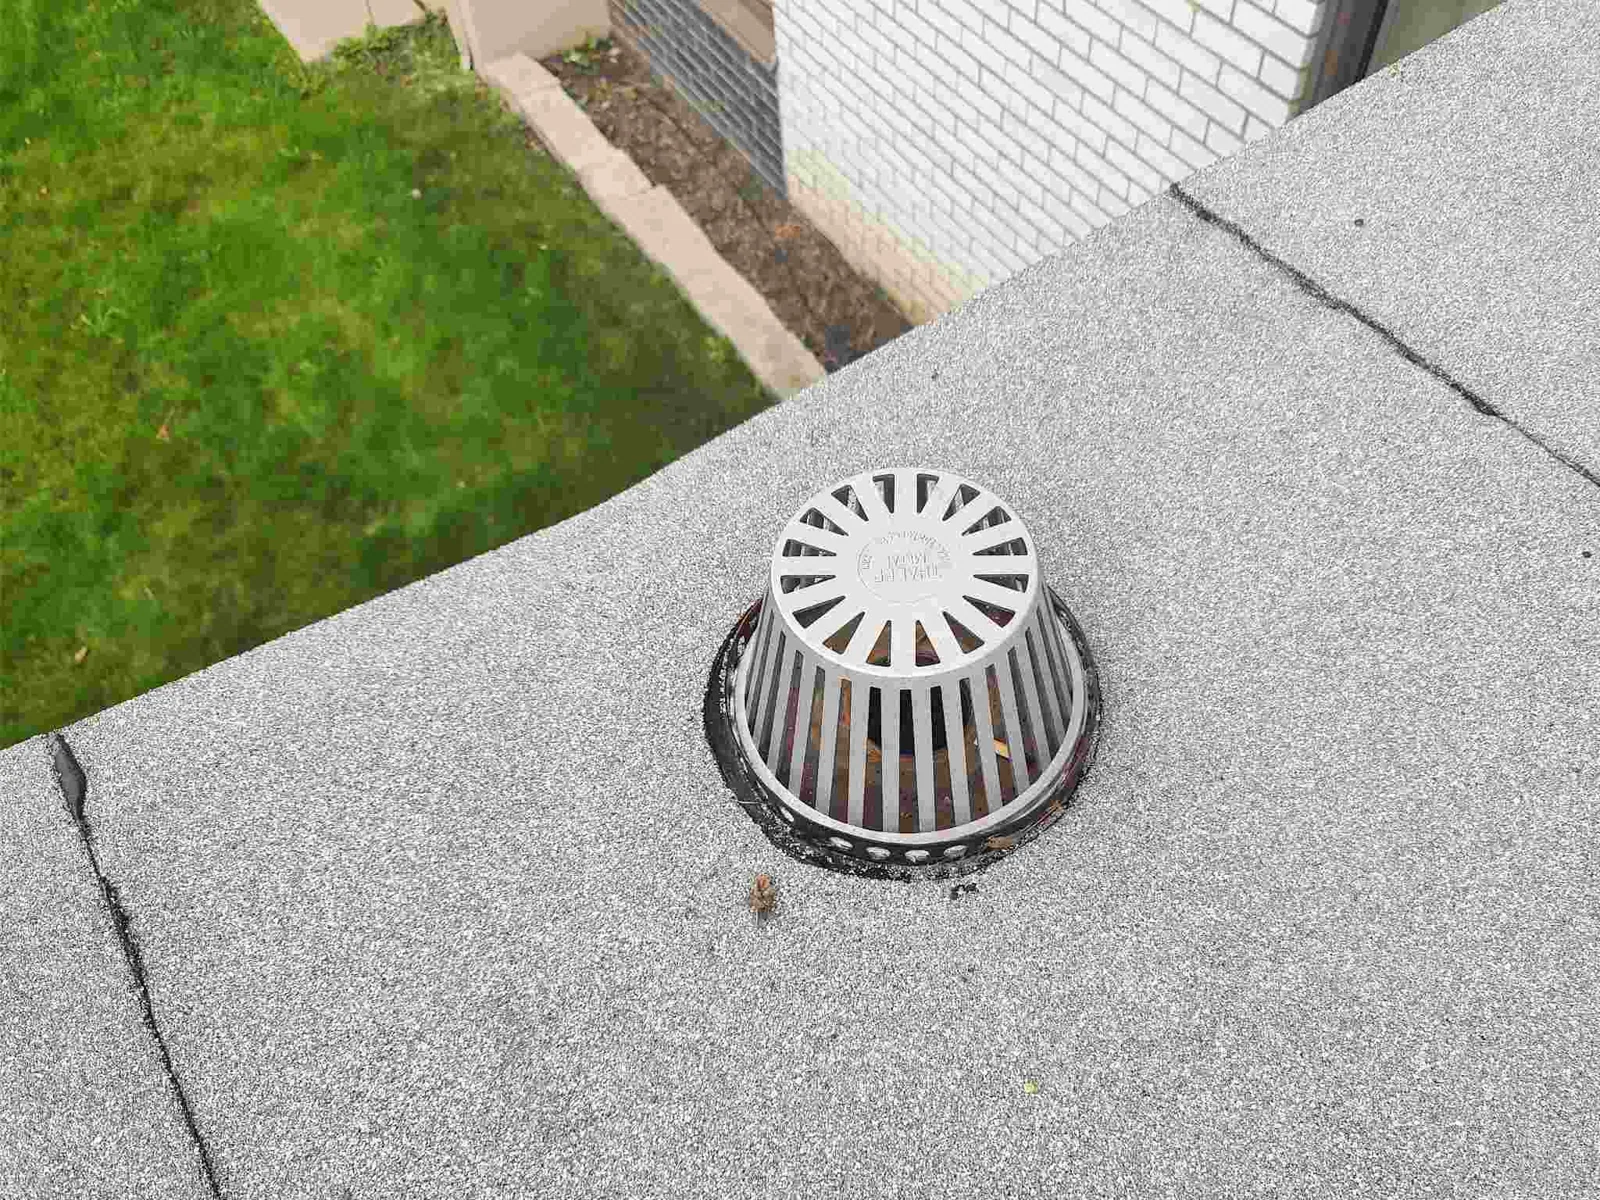
At a curb, inspect the vertical flashing, corners, top termination, and tie-in to the field sheet. At a pipe or conduit, look for movement, unsupported flashing, or a patch that has detached from the membrane. Drain bowls need special attention because the sheet is cut and clamped into the outlet. The seam repair should restore the system connection rather than cover an opening with an incompatible sealant.
We also check for punctures, shrinkage, wrinkles, loose flashing, and damage from service traffic. A TPO surface can show dirt or scuffing without a leak, while a small split can admit water even if most of the field looks clean. Mark each finding by roof zone, take location and close-up photos, and note whether the interior report aligns with the roof detail. This keeps the repair focused on evidence instead of appearance alone.
What supports the membrane?
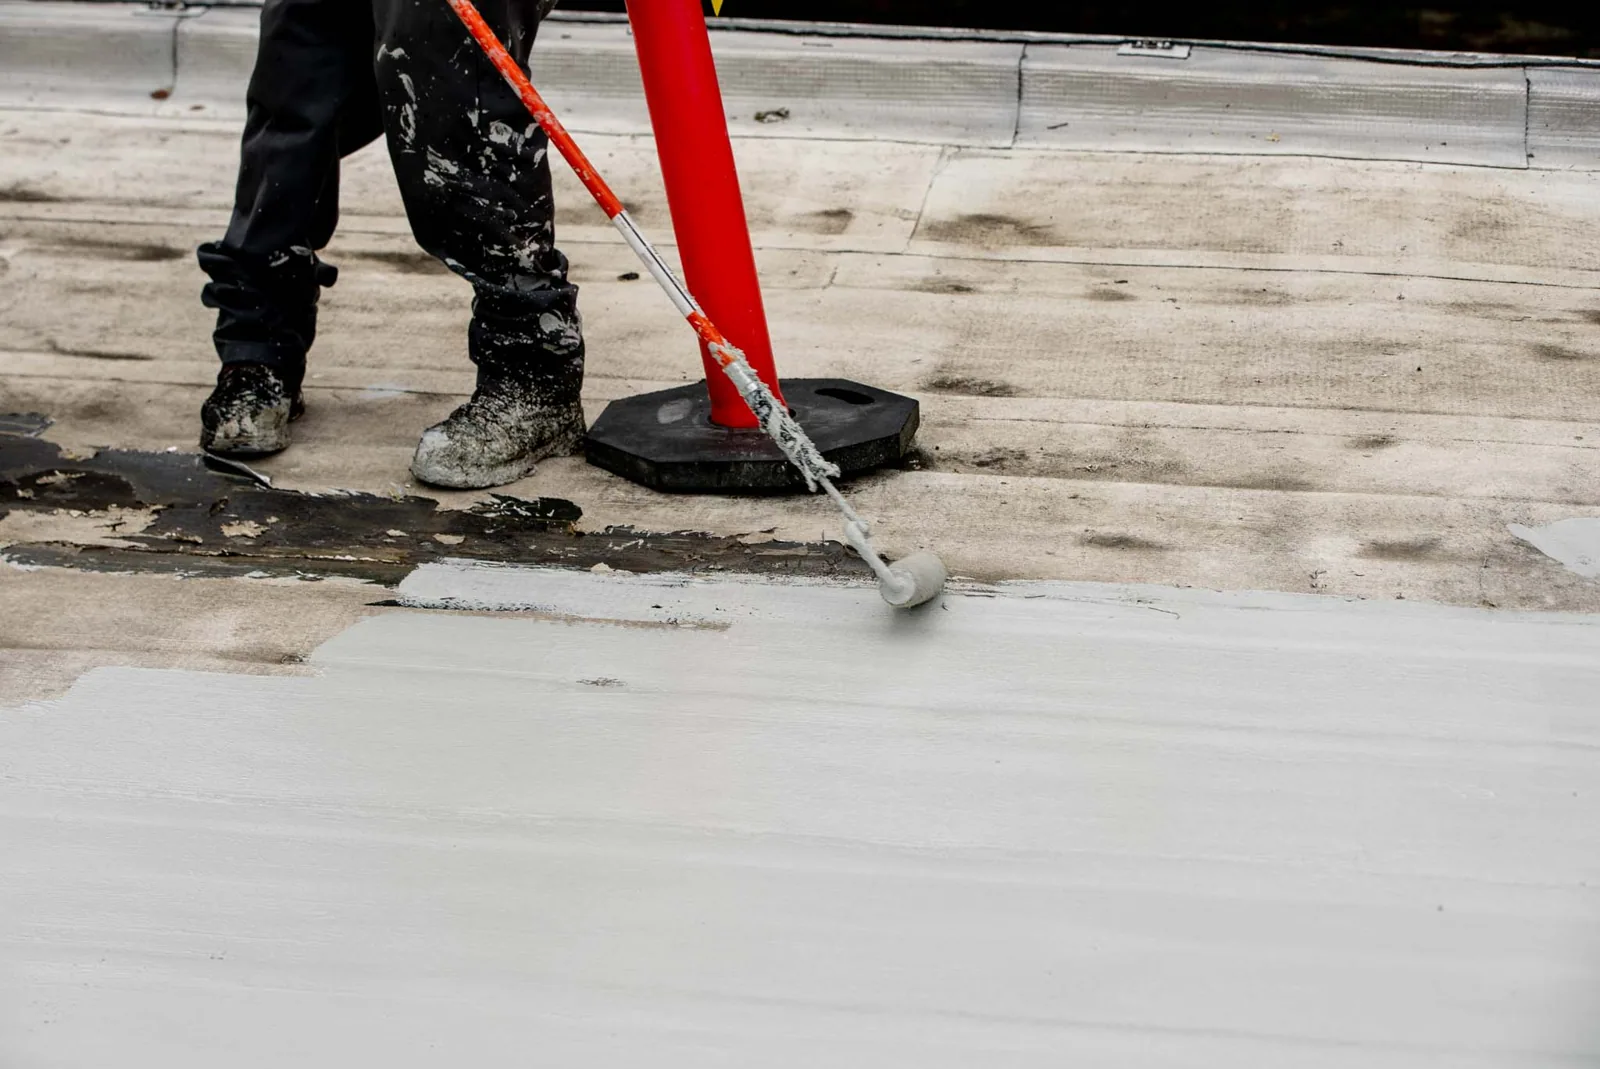
The sheet is only one part of the roof. Identify the deck, insulation, cover board, vapor retarder if present, and how the assembly is attached. Mechanically fastened, adhered, and ballasted assemblies behave differently at seams and perimeters. Review available records, then compare them with exposed edges or approved openings. If the substrate is wet, soft, or poorly bonded, a surface patch may not solve the condition below it.
Water can travel through insulation or along a deck before reaching the room below. We inspect nearby drains, wall transitions, expansion joints, skylights, and equipment curbs to follow the likely path. If a moisture survey is considered, its indications should guide confirmation, not substitute for it. A roof inspection records visible conditions and identifies questions that require testing or an approved opening.
Chula Vista’s coastal areas have a mild, wet-winter pattern; eastern sites can see hotter, dry-wind periods. Check the roof surface and actual conditions before welding or using adhesives. A condition record notes attachments, defects, inaccessible zones, and inspection limits.
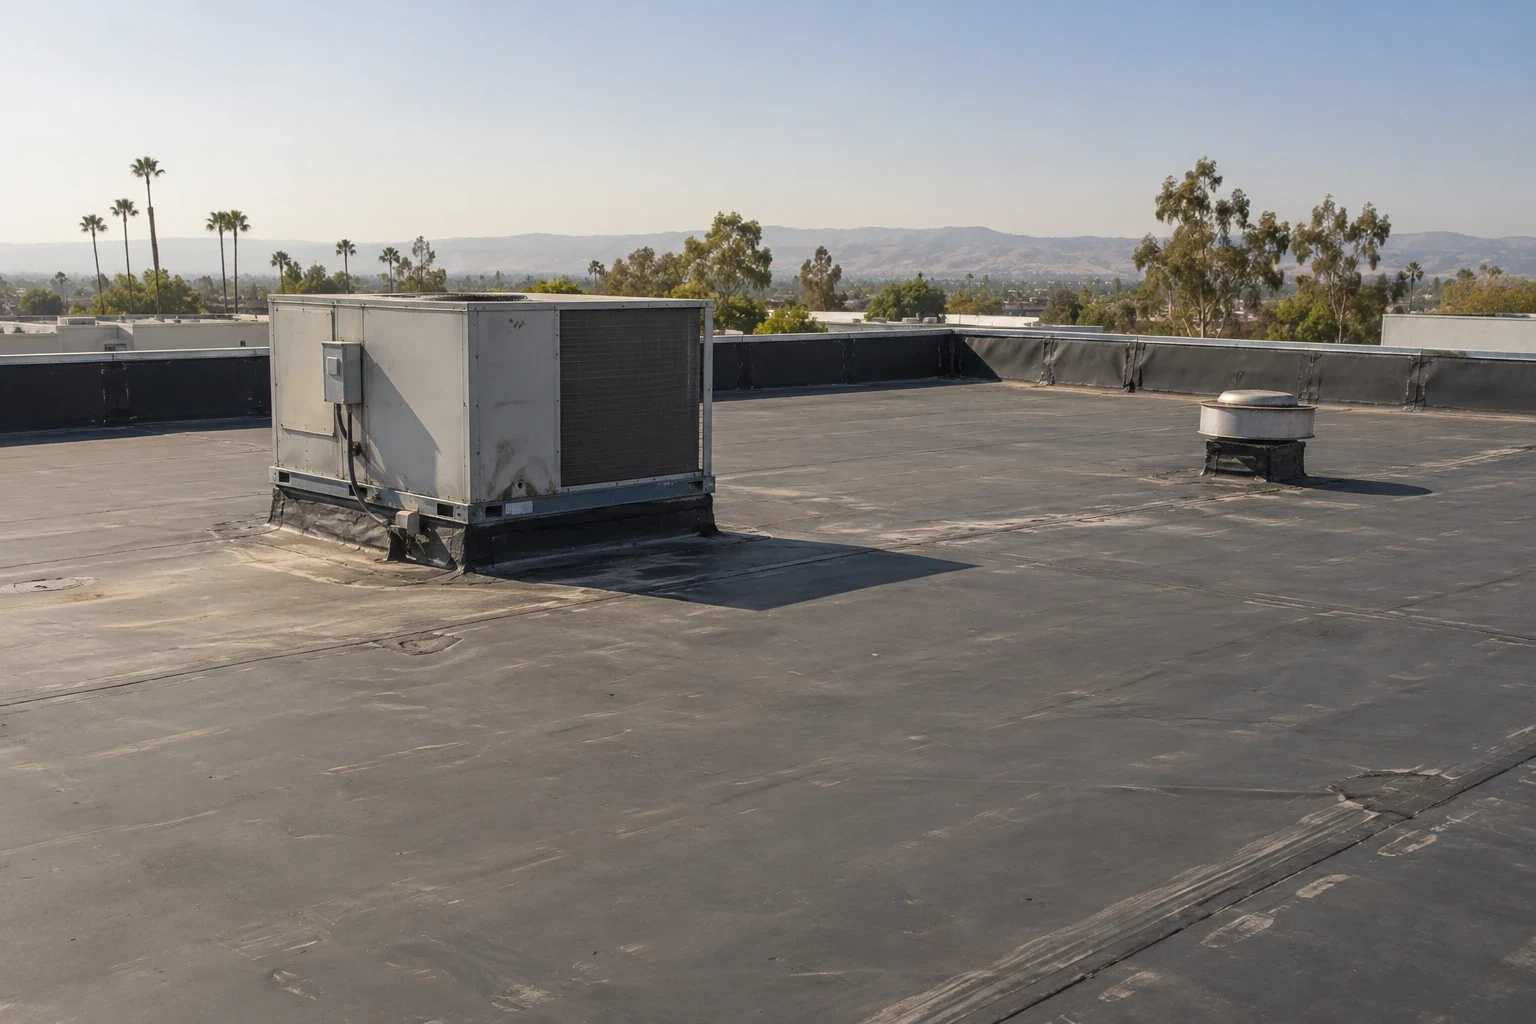
Drainage and transitions
Standing water can expose a defect for longer and may point to a low area, blocked outlet, or change in insulation height. Trace the slope to each drain or scupper. Check the bowl, clamping ring, membrane cut, strainer, and overflow route. If an existing recover has raised the field, compare the finished height with the drain and curb details. A drainage review can separate a cleaning task from work that changes the water path.
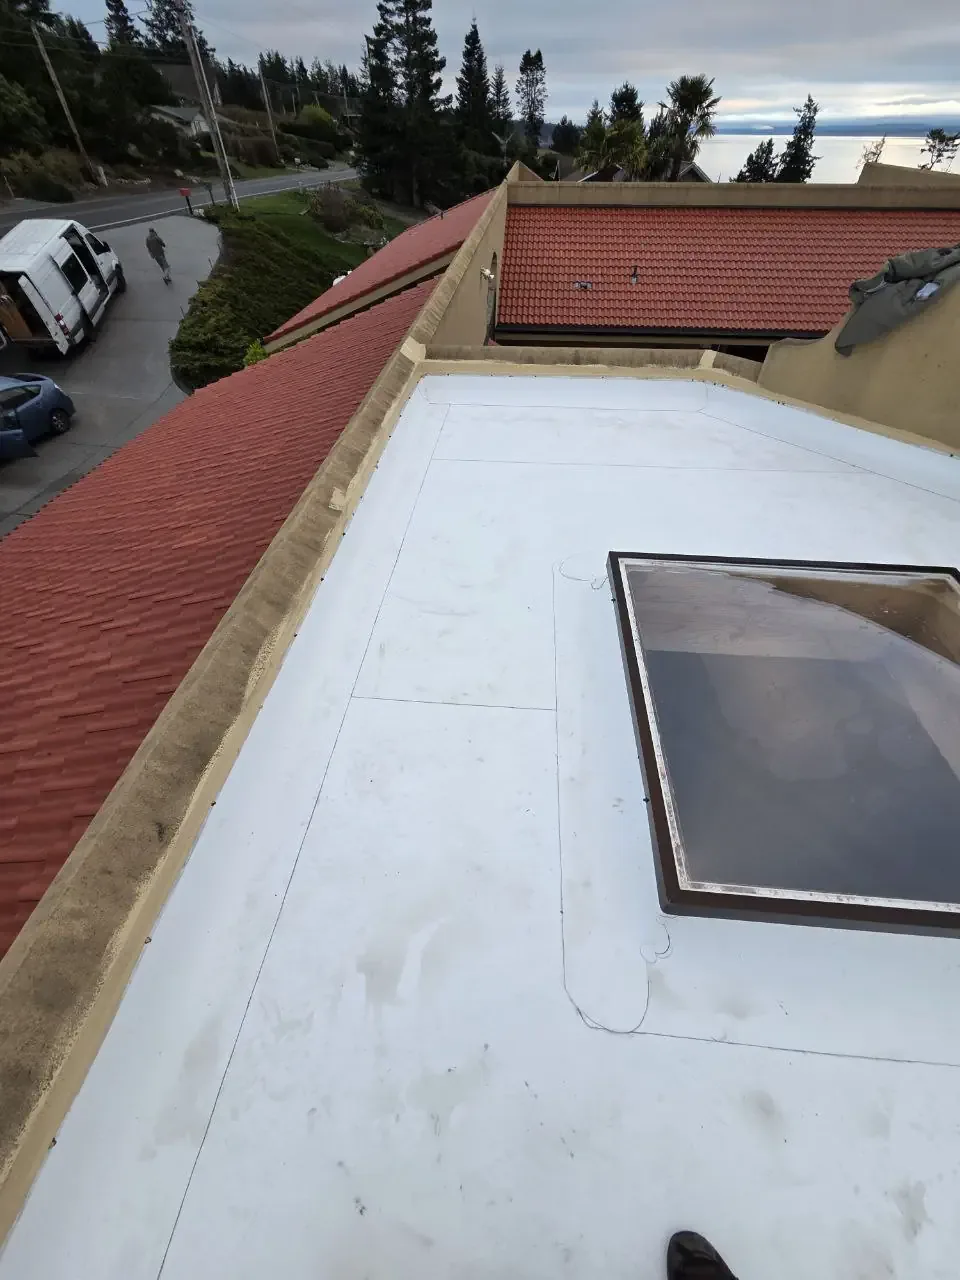
Transitions deserve the same attention as the field. At a parapet, identify how the TPO turns up and where the termination is secured. Around a skylight or unit, check the curb corners, height, cover, and movement at the flashing. The sheet must remain secure where different materials meet. If an adjacent system is present, confirm that the tie-in matches both assemblies instead of assuming a similar color means compatible materials.
Where the roof connects to PVC or KEE, compare the actual product and seam requirements before planning a repair. These membranes can look alike while having different formulations and details. A PVC system and a KEE membrane should be identified from records or product markings before a transition is rebuilt.
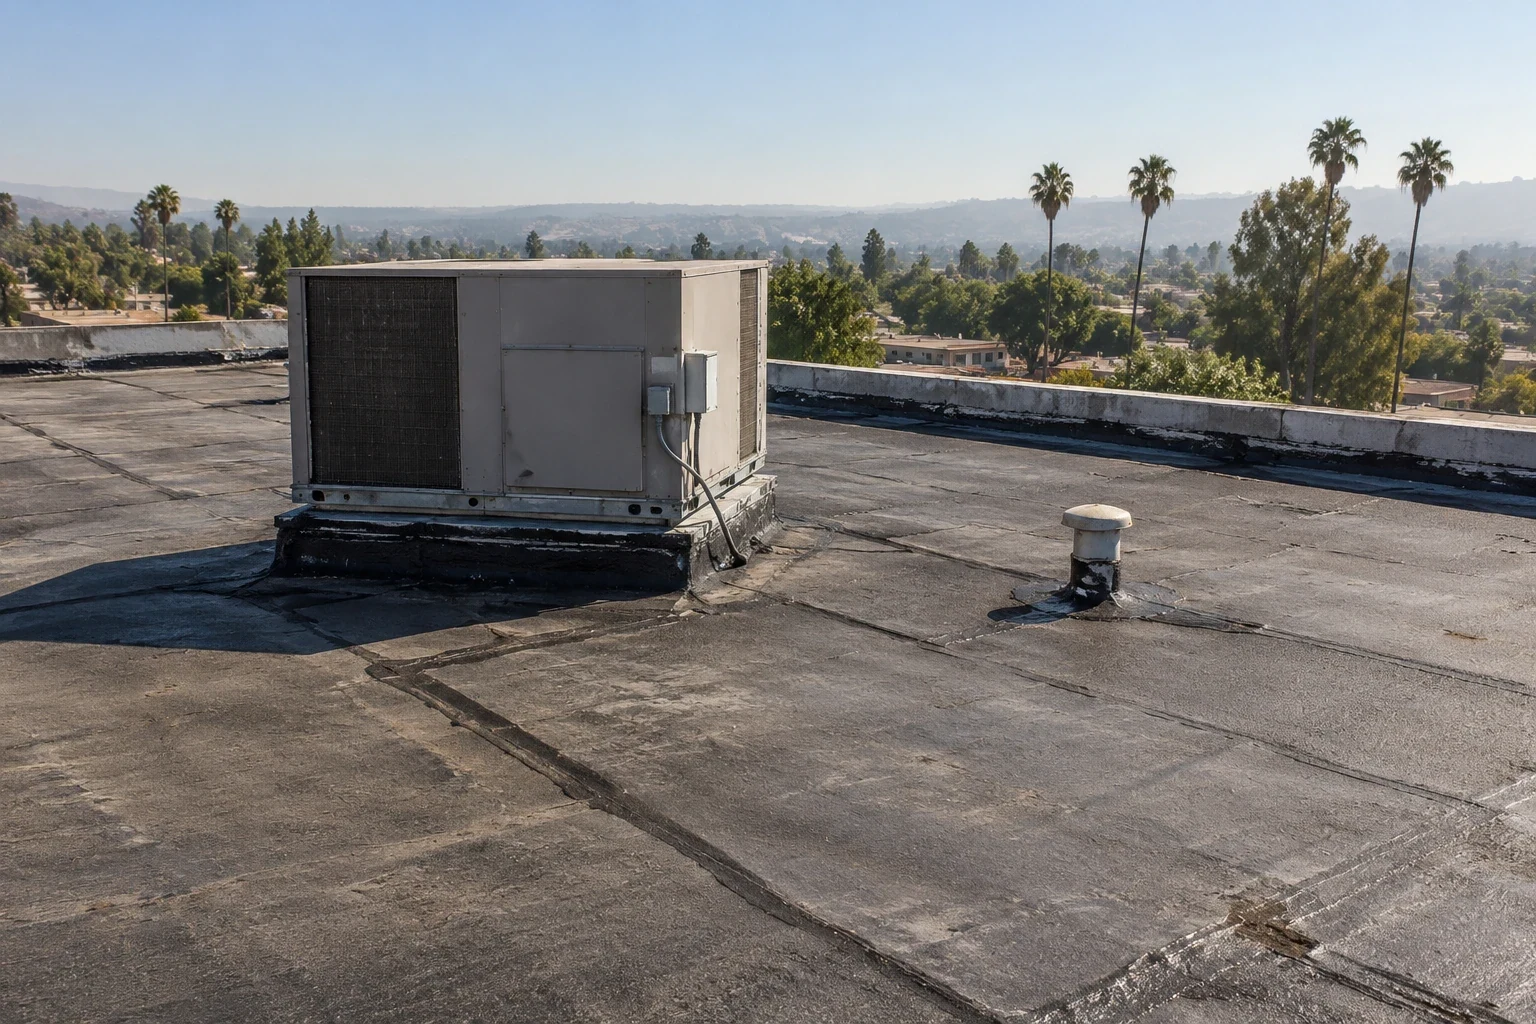
Installation and repair sequence
Before work begins, confirm access, roof zones, staging, weather limits, and what must remain operational below. Clean the repair surface using the method specified for the membrane. Remove loose or incompatible material, then allow the area to dry before welding. We make a test weld when conditions or material age warrant it, check the seam after it cools, and document the repair before it is covered by other work.
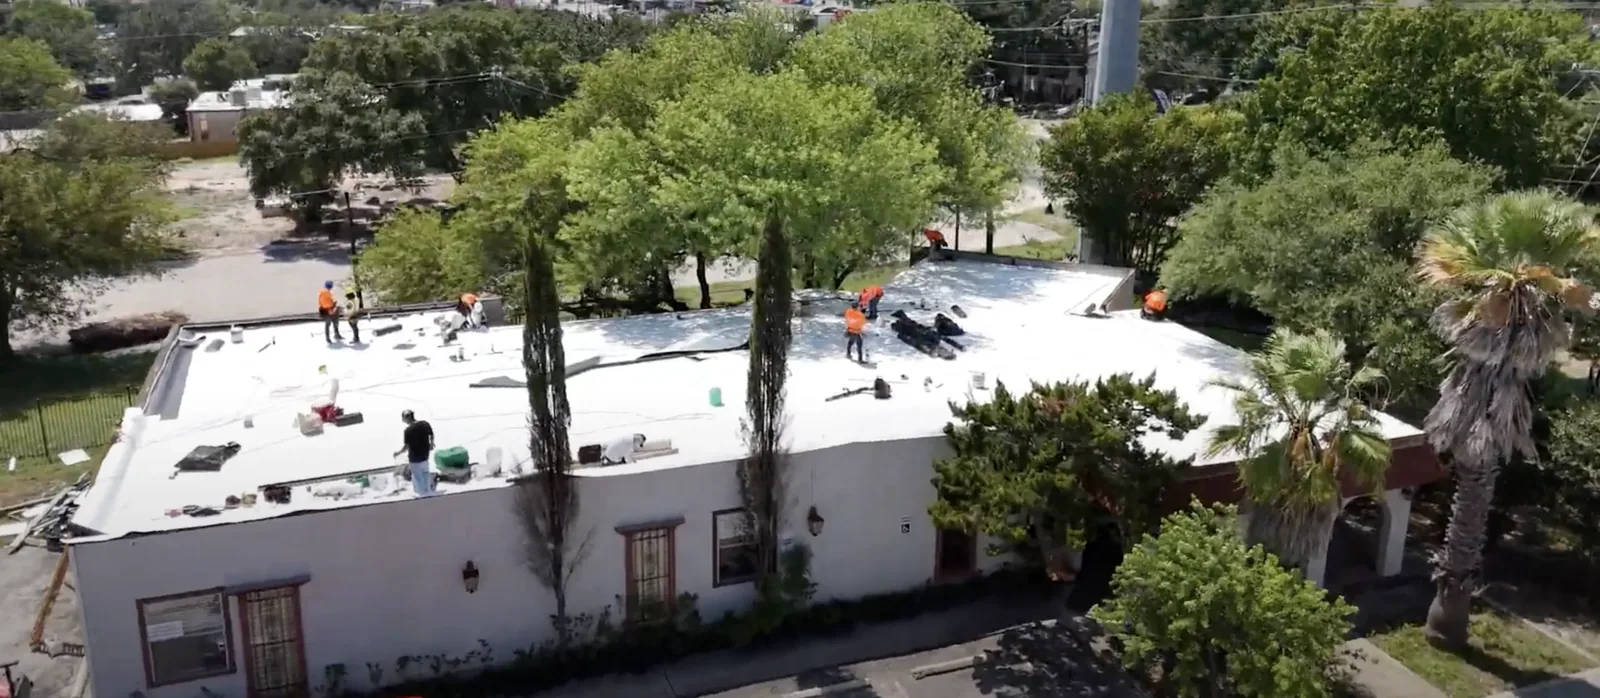
For a larger replacement, set removal limits by shift and close each area before the crew leaves. Keep temporary tie-ins away from drains and traffic routes. Coordinate equipment lifts, conduit supports, and other trades so they do not puncture finished membrane or cover a seam that needs inspection. An occupied property may need noise controls, protected paths, or a smaller phase. The occupied-building sequence should show the daily dry-in point and who accepts the zone at handoff.
Chula Vista’s winter rain pattern makes temporary openings a schedule concern, while hot inland surfaces can affect application windows for adhesives or accessories. We use the selected system requirements and actual conditions, not a calendar assumption. If weather changes, the crew secures the open boundary and records which areas are complete, protected, or waiting for a suitable work period.
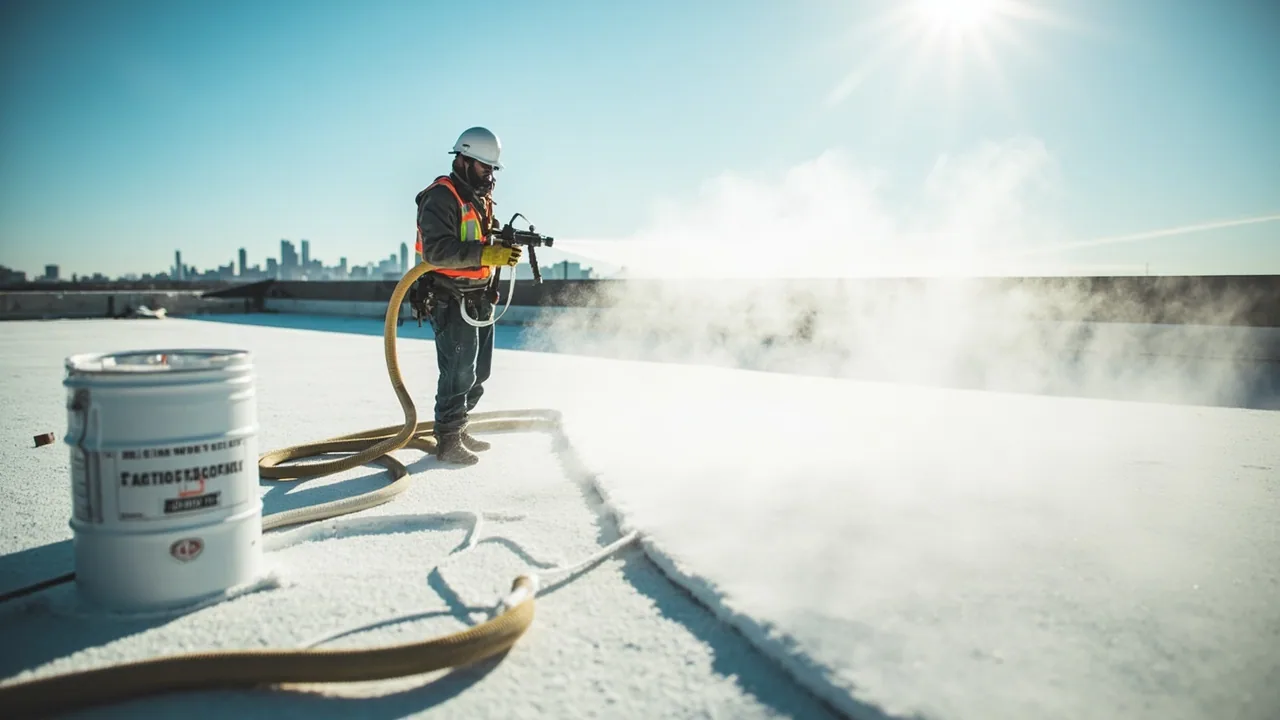
Repair or replace?
A local seam or flashing defect may be repairable if the surrounding sheet, attachment, and substrate remain sound. Several open seams, recurring punctures, broad shrinkage, or wet insulation can point to a larger condition. We map defects by area and compare repair with replacement using the same roof boundary, access assumptions, and detail work. The scope should identify what is included and which concealed conditions may change the plan.
Recover is not appropriate over every existing assembly. Confirm moisture, attachment, surface compatibility, finished height, drainage, and load before adding a layer. Replacement lets the team inspect and correct underlying materials, but removal brings additional protection and sequencing requirements. A replacement scope should identify the deck and insulation assumptions, roof openings, curb work, perimeter details, and daily closure method.
TPO selection also involves thickness, reinforcement, attachment, color, and detailing. We tie the specified sheet and accessories to the assembly and exposure, then record the product information with the closeout. Avoid choosing a system from a short label alone; the complete detail set must match the deck, roof geometry, and operational needs of the facility.
Service and closeout
After repair, inspect weld continuity, corners, terminations, drains, and any temporary protection removed. Record the date, roof zone, material used, and the limits of the work. Keep photos tied to the plan so a later leak report can be compared with the same location. If an area remains inaccessible or untested, identify it rather than implying the full roof was cleared.
After equipment work, strong wind, or heavy rain, check the affected zone for punctures, loose flashing, displaced edge metal, clogged outlets, or seam damage. Keep maintenance notes with the assembly record and compare recurring defects with earlier photos before expanding the repair boundary.